

Though I was worried about whether or not it was "OK" to use a fake cake, I chose to do so for my apple of my eye party. Best decision ever. Then 2 months later, I received Amy Atlas' book in the mail and was so excited to see her tutorials on how to make one. If Amy Atlas says it fine- it's fine.
The best part about making a fake cake is that they can be done way in advance and they are easy! Your initial investment may be a bit pricey, but the cake can be reused again and again. To store it, simply wrap it plastic wrap. Here is a brief tutorial but I have never been to a baking or cake making class. I know there are a lot of experts out there that may be more helpful. DON'T BE INTIMIDATED BY FONDANT- IT IS JUST LIKE PLAY DOUGH!

You will need cake dummies found on amazon, fondant and wax paper.
I have used my hand to smooth the fondant but I found this fondant smoother for $4.00 at the cake store and it is amazing. It makes your fondant much smoother and makes the job quicker. It's well worth the investment.


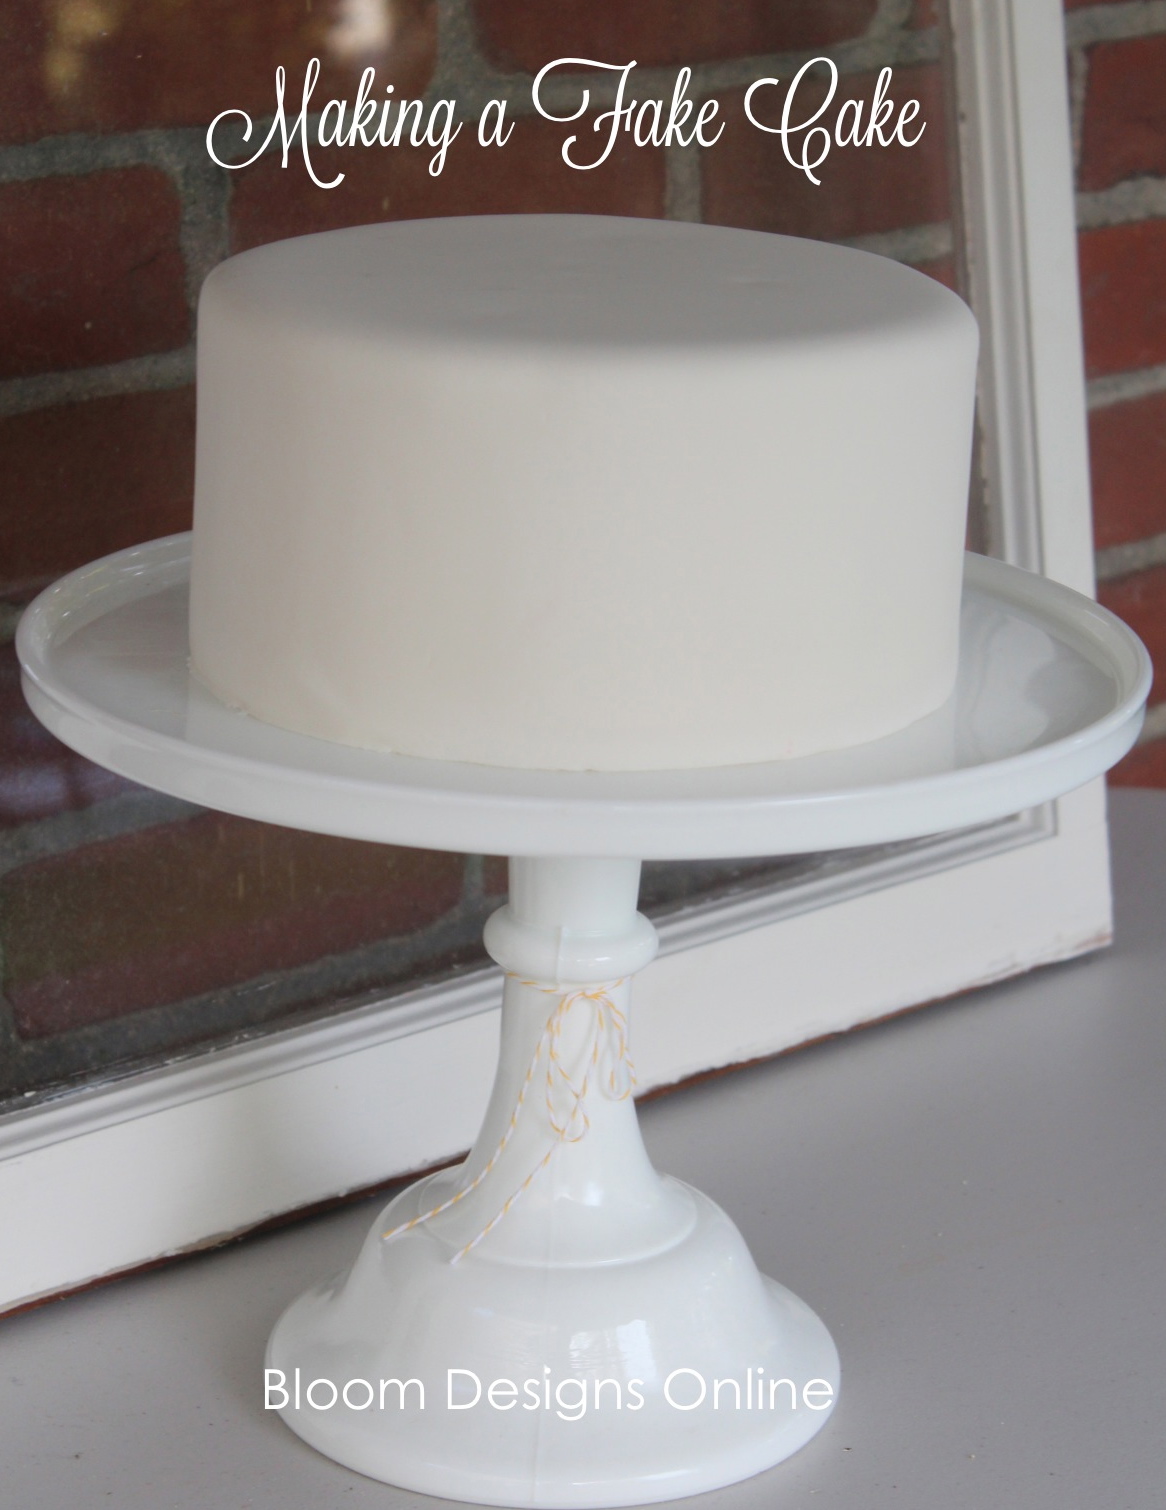
Roll the fondant between two pieces of wax paper until it is about 1/8 inch thick circle that is big enough to cover the top and most of the sides.

Put the cake dummy in the middle of the fondant. Flip the entire thing over and rest on top of a glass or other pedestal. The fondant will stretch down the sides and shrink to fit the almost magically. Using a very light touch with your hands or the smoothing tool, rub the fondant smooth. Trim any extra fondant that falls below the cake dummy with kitchen scissors or a knife.

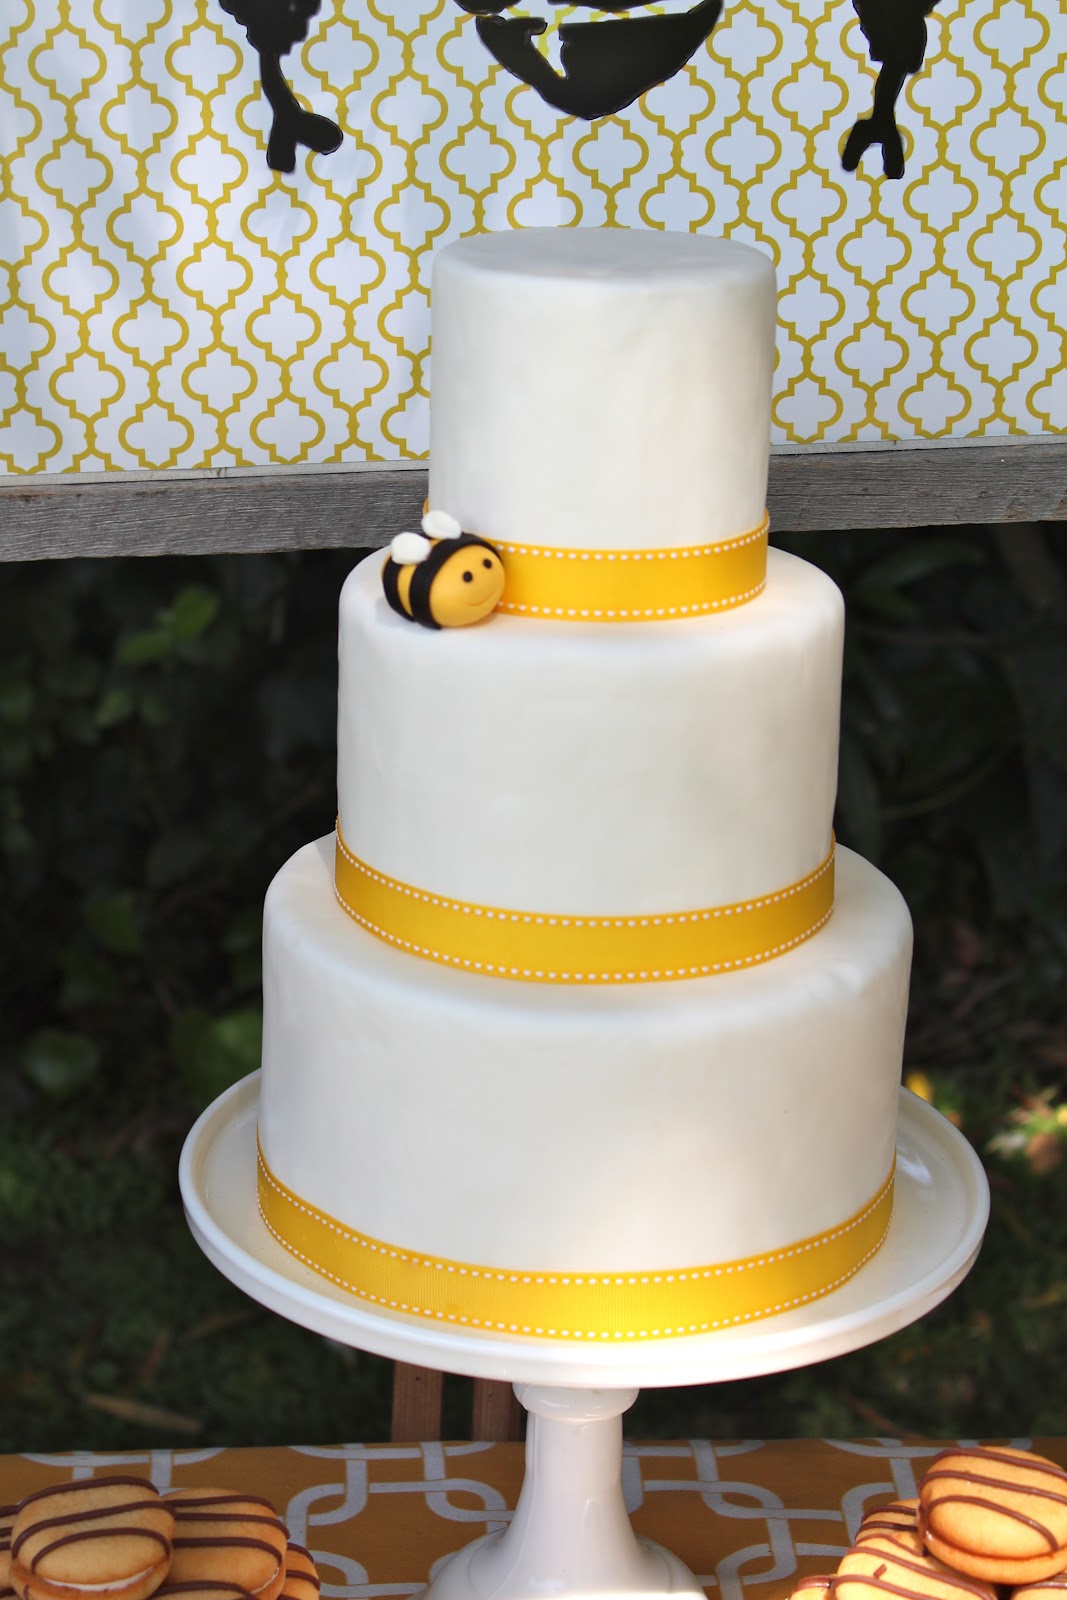
The fondant will dry and become hard making it very durable. Once dried, stack and decorate. I have used ribbon attached with straight pins in the back and I have also used Necco Wafers. You can cut shapes out of colored fondant or pipe with butter cream. Options are endless.


Halloween ideas are coming......
XO,
Jenny
How do you respond to children who want to eat the cake, though? If my guys saw a cake this gorgeous they'd immediately start asking when we were going to cut it. Maybe you could just call it a decoration and hope no one tried to sneak a test bite? :)
ReplyDeleteAmazing! And how fun it would be to have a cake to decorate with so easily. I would have never guessed but it does make complete sense!! Love it!
ReplyDeleteThis is so smart!!!!! Love it!!!!!
ReplyDeleteHi Laura- Usually there are so many other treats on the table including cake pops and cupcake that everyone is satisfied!
ReplyDeleteThis might be a silly question, but what do you use as a cake dummy?
ReplyDeleteThis is such a great idea!
ReplyDeleteThanks for sharing this idea.
ReplyDelete